Issue to release with GitHub
Track a bug, inspect a failed GitHub Actions run, review a pull request, and publish a practice release from Zide.
What you will finish: A linked issue and merged pull request, passing weather checks, and a pre-release in your own practice repository.
Before you begin
- Based on Zide v0.7.6.
- Know how to edit, review, stage, and commit files in Zide. Start with a fresh built-in weather sample, not the completed QuickTree exercise.
- Use a GitHub account that can create a practice repository, push branches, run GitHub Actions, and create releases. Repository rules and account permissions still apply.
- Install Node.js 22 or newer for the supplied checks. No npm install, weather API key, or extra service is needed.
- AI is optional. Zide Assist needs account access and an available model; you can also make the small code fix manually.
Prepare the sample and its checks
This time you will take a small fix beyond your own computer. You will publish the sample to GitHub, report its temperature bug, and watch a test fail before fixing it. The same test will run locally and on GitHub, so you can compare the results.
The walkthrough uses GitHub. Other providers have different review and automation screens in Zide.
- Click File in the menu bar, then click Open Project. On the Open Project screen, scroll to Sample Projects.
- Find the Sample weather web page card and click its New Sample Project button.
- In the dialog, type
weather-devopsin Folder Name. Click Browse… beside Parent Folder and select a folder for the sample. Check the destination path, then click Create Sample. - When the new project opens, its file list is open by default. If it is not visible, click Files in the activity bar. In the file list, click index.html. Click Preview in the file toolbar, then Open in Browser. The page should show 130°F. The sample observation is 12.5°C, which should display as 55°F. Leave the unfinished forecast alone for this tutorial.
- Click the weather check kit download link. Open the ZIP in your file manager and extract it. Copy its
scriptsfolder,.githubfolder, andTUTORIAL-CHECKS.mdfile intoweather-devops, besideindex.html. Do not leave them inside an extraweather-checksfolder. - Confirm the sample now contains
scripts/weather.test.cjsand.github/workflows/weather-checks.yml. Keep the leading dot in.github; your file manager may hide that folder until you turn on hidden files. - Return to the weather-devops Project Tab. Click Tools in the menu bar, then New Terminal. The terminal opens in this sample’s folder. Type each command below and press Enter after each one:
node --version
node --test scripts/weather.test.cjs
Expect two passing tests and one failing test. The failure is named current conditions convert Celsius once; its first assertion shows 130°F where 55°F is expected. The kit checks the actual current-conditions renderer, which the sample’s original tests.html does not cover.
Click Git in the menu bar, then Staging. Click each of the three added files under Unstaged to read its contents. Click the Stage icon beside each file; hover over the icons to find its label. Type Add weather regression checks in Commit message, then click Commit.
Leave the bug in place for now. The failure gives you something specific to find in GitHub Actions, which runs checks automatically when code is pushed. This is the continuous integration, or CI, part of the tutorial.
Before continuing, look for two passes and one failure in the terminal, and no files left in Staging. A missing file or an unrecognized
nodecommand is a setup problem, not the failure we want.
Publish and connect DevOps
Connect your GitHub account
If GitHub is already connected in Zide, skip to publishing below.
- Press Ctrl+, on Windows/Linux or Cmd+, on macOS to open Settings.
- Click Git Accounts in Settings, then click Connect account.
- In the account dialog, click GitHub. Copy the one-time code that appears, then click Open in browser.
- Follow GitHub’s sign-in and authorization screens. Paste the code when asked and authorize Zide for the account you intend to use.
- Return to Zide and click Done. Check that your GitHub account appears in Git Accounts.
Publish the sample
- Click the weather-devops Project Tab. Click File in the menu bar, then Publish Project.
- In the dialog, check that Local Folder is your sample. Select your GitHub account in Account and your personal account as the destination owner.
- Type
weather-devops-practicein Repository Name, or another unused name. Select Private or Public according to who should see the practice repository. Click Publish. - In your browser, open the new repository under your GitHub account. Check the branch selector above the file list: the default branch should be
main. The supplied workflow runs on pushes tomainand pull requests targetingmain. If your branch has another name, edit bothmainentries in.github/workflows/weather-checks.yml, save, commit, and click Push in Zide’s project header. - Click DevOps in the menu bar, then Configure. Check that Issue Tracking, Code Review, Automation, and Release Management show GitHub and this practice repository. If a category points elsewhere, select the practice repository as its source and your connected account. Click Done.
- Click DevOps again, then Actions. Wait for the Weather checks run from the initial push. It should fail at the same assertion as your local run.
Connecting an account tells Zide who you are. Configuring a DevOps source tells it which repository’s issues, reviews, or runs to show. With just one remote, those choices may already be set for you.
The workflow uses Node.js 22 and runs the same command as your terminal. It triggers again when you open or update a pull request to the default branch. See GitHub’s workflow syntax if you want to extend its triggers later.
Actions should show a failed Weather checks run for this repository. That failure is expected. If there is no run, check the troubleshooting table at the end before continuing.
Write an issue with a verifiable result
Click DevOps in the menu bar, then New Issue. In the tab that opens, type Fix current temperature conversion in Title. Click Copy text below and paste it into Description:
Open index.html from a fresh weather sample.
Current conditions show 130°F for the 12.5°C sample observation.
Expected result: 55°F after rounding, with Celsius converted only once.

Acceptance checks:
- node --test scripts/weather.test.cjs passes all three tests.
- index.html shows 55°F without changing the sample observation.
- The existing browser checks in tests.html still pass.

Keep the unfinished forecast outside this change.
Click Create Issue. Zide opens the new issue. Write down its number, such as #1; you will use that number in the pull request description. Leave the issue tab open so you can refer to its acceptance checks while reviewing the fix.
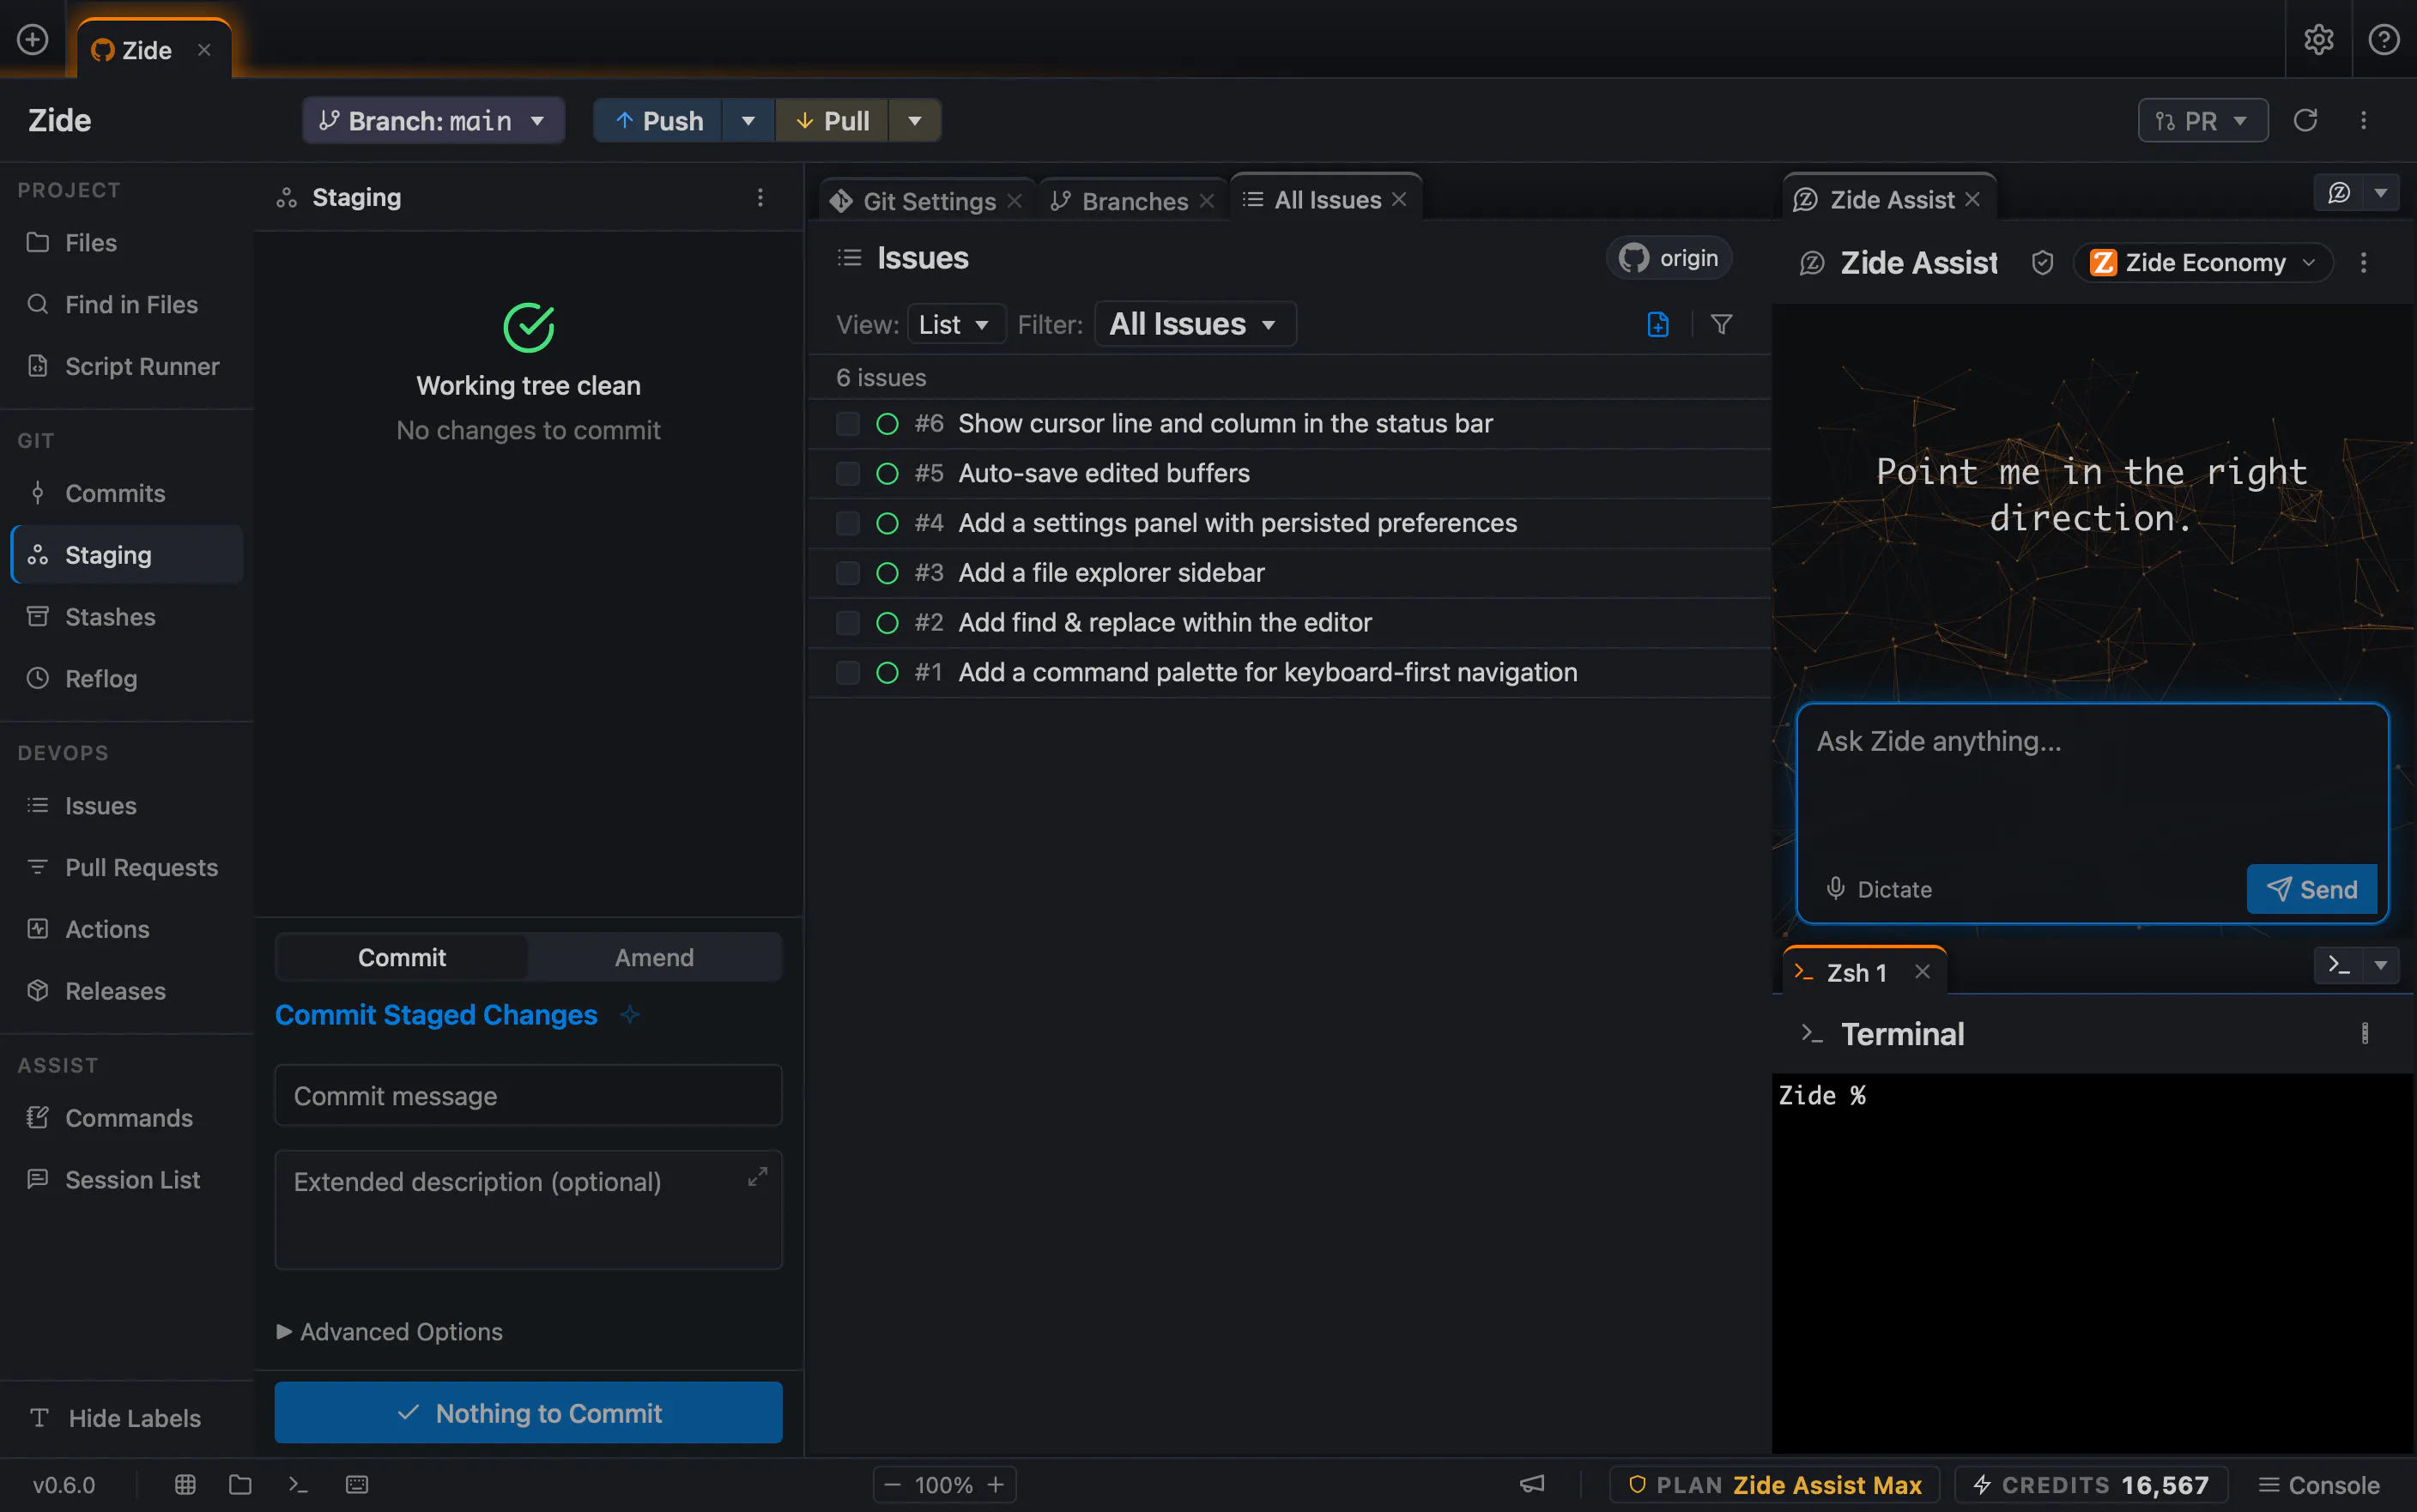
Reference image from another repository. Use the issue number and title you just created, not the examples in the image.
Check that the issue title and description match what you entered. The number assigned by GitHub may differ from the examples here.
Create a branch and open a failing pull request
A pull request, or PR, asks to merge one branch into another after review. You will create a branch for the fix and open its PR before changing the code, so you can see the failed check turn green.
- Click Branch in the project header. Confirm the current branch is
main, then click New branch…. Typefix-weather-temperaturein the branch-name field and click Create & Switch. Check that the project header now shows that branch. - If the file list is not visible, click Files in the activity bar. In the list, click README.md, then Edit in its toolbar. At the end, add a Development checks heading, the command
node --test scripts/weather.test.cjs, and a note that the temperature bug is tracked by your issue number. Save with Ctrl+S or Cmd+S. - Click Staging and click README.md to review the diff. Click Stage beside it, type
Document weather regression checkin Commit message, and click Commit. This gives the branch a change to review while the bug still exists. - Click Push in the project header. If asked for a remote, select
origin. This is the name Zide gave the GitHub connection. If asked to set an upstream, accept the matchingfix-weather-temperaturebranch so later pushes go to the same place. - Click DevOps in the menu bar, then New PR. In the new tab, select
mainas the base branch, which will receive the change. Selectfix-weather-temperatureas the compare branch, which contains your work. TypeFix current temperature conversionin Title. - In Description, add
Closes #N, replacingNwith the actual issue number. State that the regression is currently failing and that the fix will follow on this branch. Click Create Pull Request.
The new PR opens after creation. Click Checks near its header and wait for the weather check to finish. Do not merge yet. New commits pushed to this branch will update this same PR.
The PR should show your README change and a failed weather check. The code is still wrong; the next step is to read why the test failed.
Investigate the failed run
- Click DevOps in the menu bar, then Actions. Click Show filters and type
fix-weather-temperaturein Branch. Find the new run whose event is pull_request. - Click that run. Check its branch and commit, then click the Weather checks job to expand its steps and logs. Find Test weather rendering.
- Find the failing assertion. It should match the local failure: the renderer outputs 130°F, not 55°F.
- Leave the run tab open. If you need help understanding the failure, you can copy the assertion text into the Zide Assist conversation in the next section.
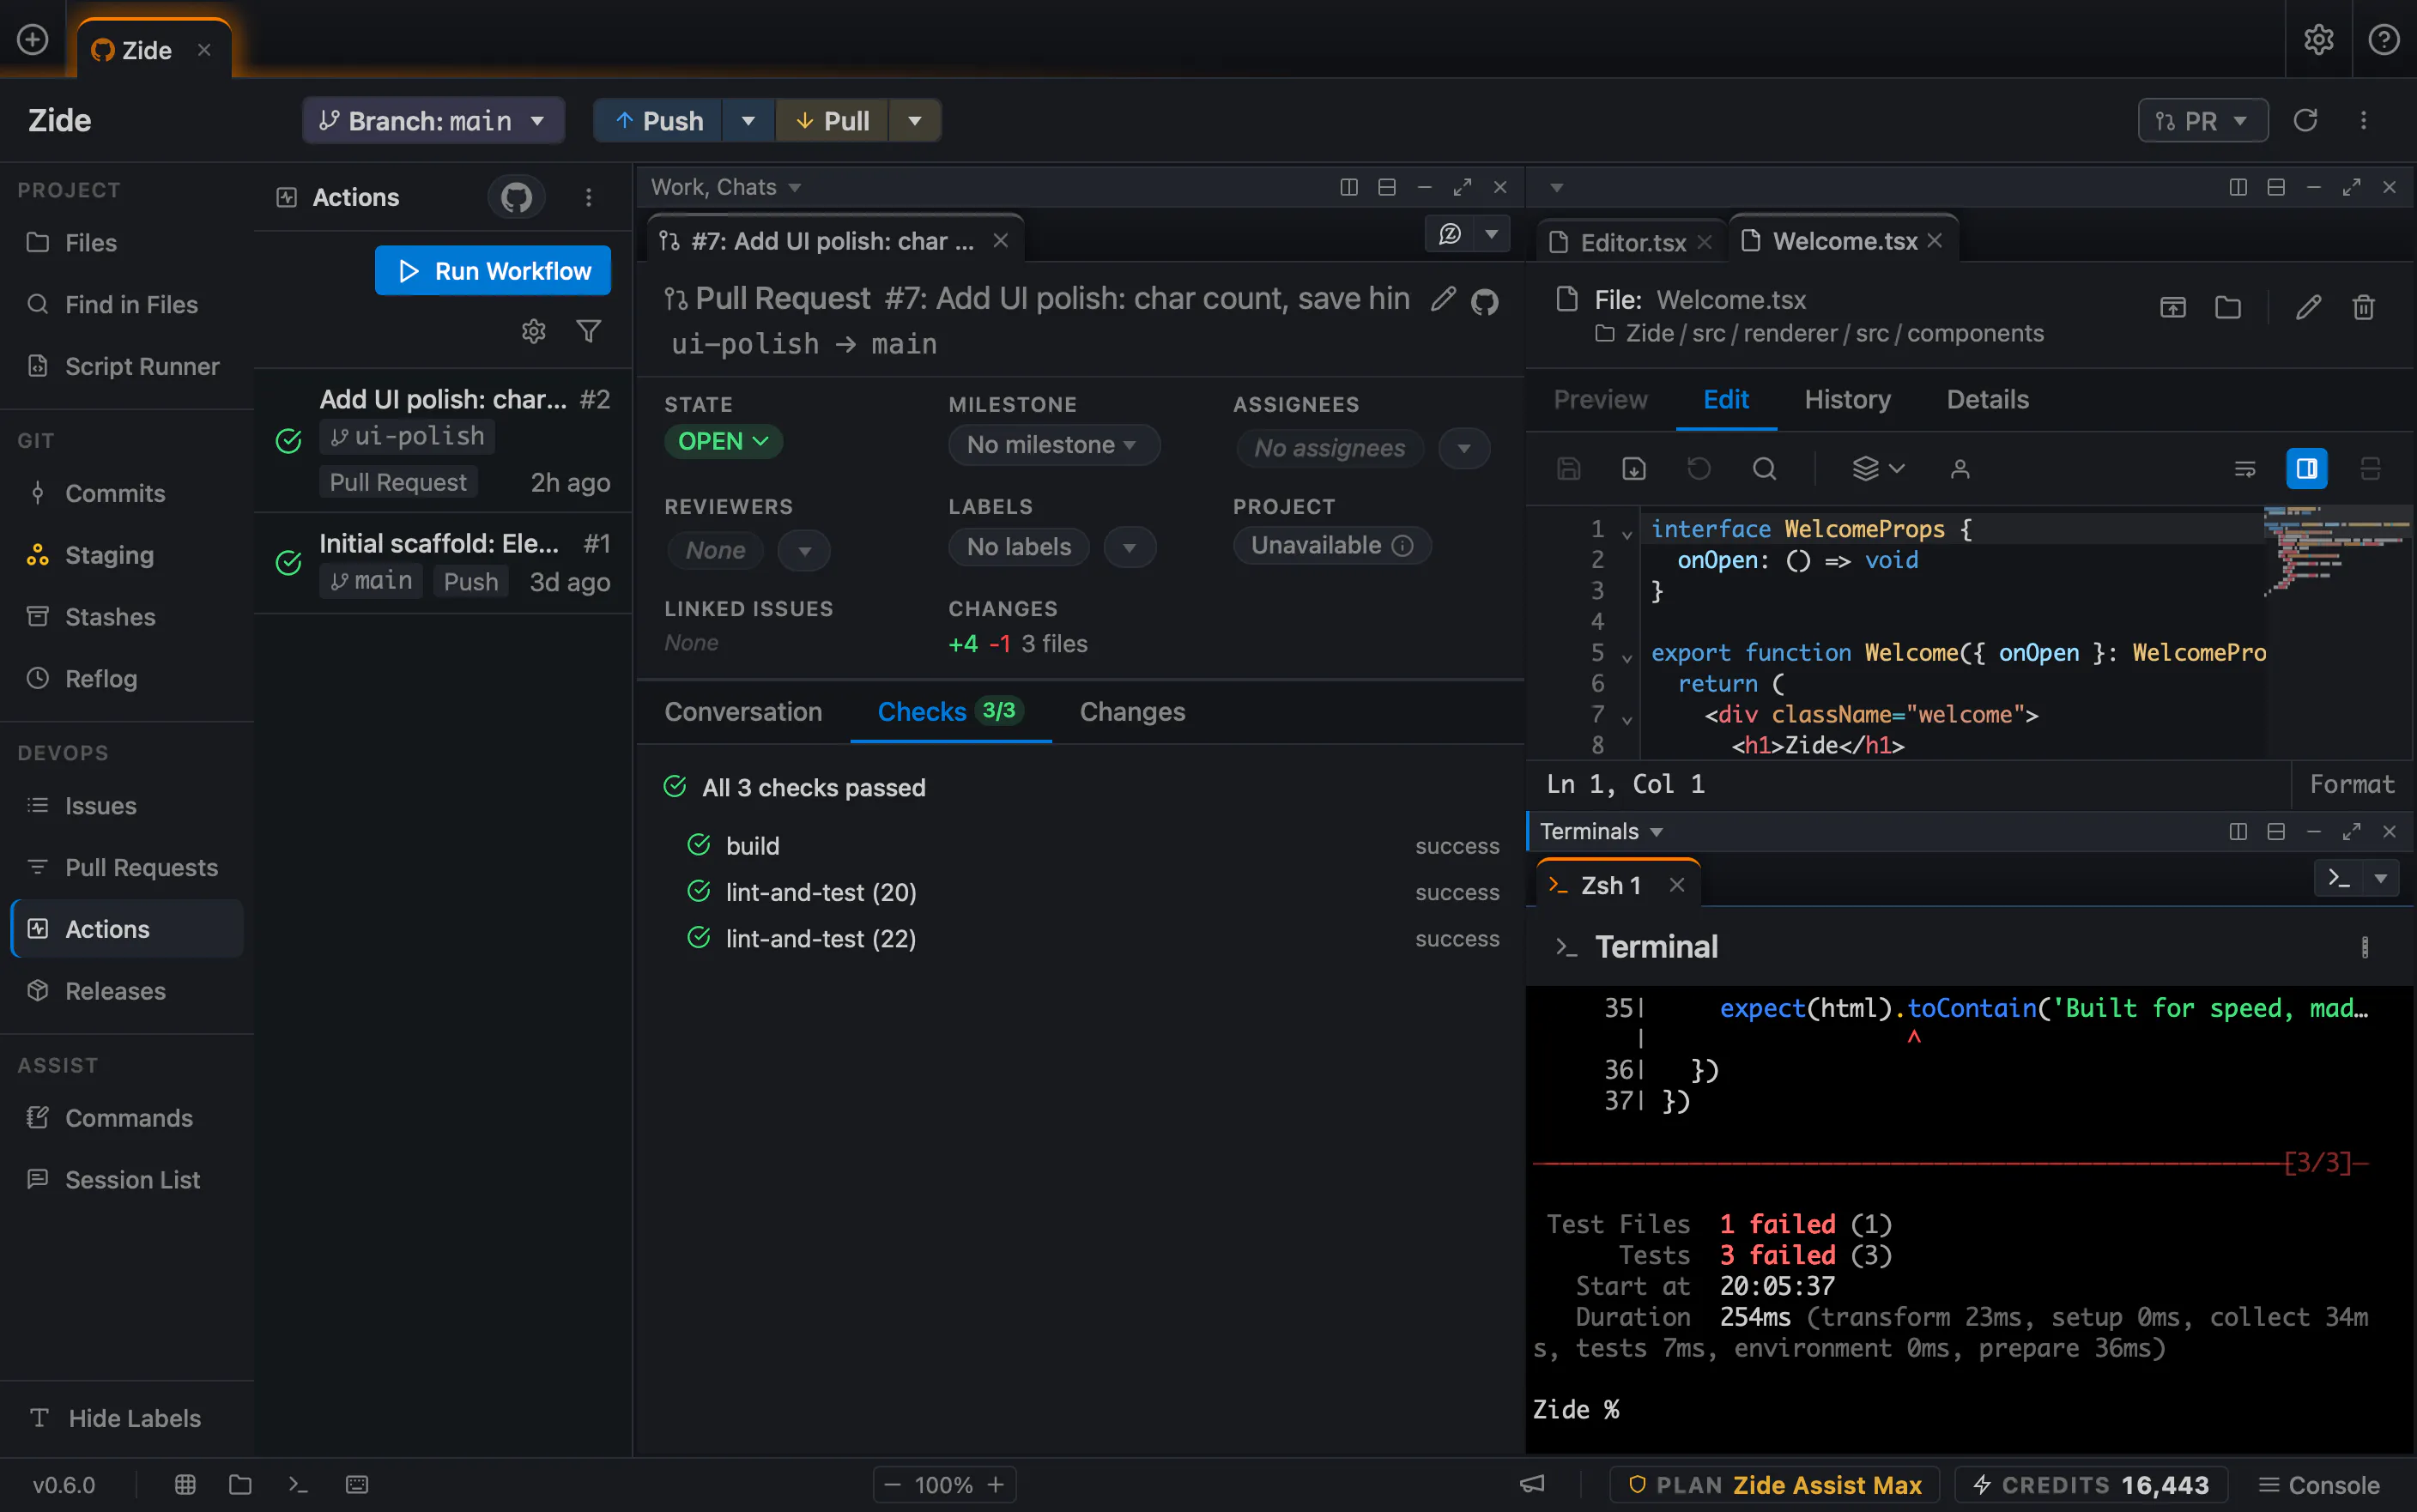
Reference image from a different project. Its check names, results, and terminal output are not the results of this exercise.
Rerunning this commit will produce the same failure. The test is catching a code bug, so the next step is to change the code.
Find
current conditions convert Celsius oncein the log, with 130°F as the actual result and 55°F as the expected result. If a different step failed, resolve that failure first.
Fix the code and push the result
Check that the project header still shows fix-weather-temperature. You can ask Zide Assist to fix the bug or make the one-line edit yourself. For the manual route, skip to the code snippet below.
To ask Zide Assist, click Assist in the menu bar, then New Session Tab. Click the model name in the new session’s toolbar and select an available model. Click Copy text below, paste the prompt into the session’s message field, and click Send. The prompt includes the files and task, so attaching the GitHub issue is not required.
Fix the current-temperature bug in this weather sample.
The 12.5°C observation displays as 130°F; it should display as 55°F.
Read data/observations.js, src/temperature.js, src/weather.js,
and scripts/weather.test.cjs before editing.
Make the smallest source change so the temperature is converted exactly once.
Do not change the data, weaken the tests, implement the forecast, or add dependencies.
Run node --test scripts/weather.test.cjs and report the result.
Do not commit, push, merge, or publish a release. I will review the change first.
For a manual fix, start in the file list. If it is not visible, click Files in the activity bar. Expand src and click weather.js, then click Edit in its toolbar. The file converts reading.tempC to Fahrenheit, then passes that value to Weather.formatTemperature, which converts it again. Replace the line that starts with const tempNow with:
const tempNow = reading.tempC;If you made the edit yourself, save with Ctrl+S or Cmd+S. If you sent the prompt, wait for Zide Assist to finish and read its reply. Then check the result yourself:
- Click the Terminal content tab you opened earlier. Type
node --test scripts/weather.test.cjsand press Enter. Expect three passing tests and no failures. - Refresh the sample’s
index.html. Current conditions should show 55°F. The forecast remains unfinished by design. - If the file list is not visible, click Files in the activity bar. In the list, click tests.html, then Preview and Open in Browser. Confirm its existing checks still pass.
- Edit the README’s status note to say that the regression check now passes, then save. Click Staging and click each changed file to review its diff. The source fix should leave the observations and supplied tests intact.
- Click Stage beside each reviewed file. Type
Fix current temperature conversionin Commit message, click Commit, then click Push in the project header.
Click the PR’s content tab and click Checks. Wait for the new run, then check that it belongs to your latest commit. A green result for an older commit does not validate new changes.
You should now have three passing local tests, 55°F in the browser, and a passing check on the updated PR. If any of those differs, investigate it before merging.
Review and merge the pull request
In the PR tab, click Changes and read the diff for src/weather.js and README.md. Compare them with the issue’s acceptance checks. Click Conversation to read the description and discussion, then Checks to confirm the latest result.
If your repository requires another person’s approval, wait for that review. Your own inspection or an AI response does not satisfy a required GitHub approval.
In Conversation, click the pencil button beside the description; its tooltip says Edit description. Replace the note about the pending fix with what changed and which checks passed. Keep Closes #N with the correct issue number, then click Save.
When the required checks and reviews pass, find the PR’s merge controls. Click Merge to select a merge commit, then click Merge pull request and confirm if prompted. If that method is disabled, read the reason and select an allowed method such as Squash. Do not bypass a required check or review.
After the merge:
- Confirm the PR says Merged. Check that the issue closed. GitHub links closing keywords to merges into the default branch; automatic closure also depends on the repository’s setting. See linking a pull request to an issue.
- Click Staging and confirm both file groups are empty. Click Branch in the project header, click the
mainrow, then click Switch to main. Check that the header now showsmain. Click Pull in the project header to bring in the GitHub merge. - Run the local checks and refresh
index.htmlonmain. - Click DevOps, then Actions. In the filters, replace
fix-weather-temperaturewithmainso the new push run is visible. Wait for it to pass. If it fails, investigate before making a release.
Merging the hosted PR updates the remote repository. Pulling updates your local checkout. If you chose a QuickTree for this exercise instead, pull the parent branch after the hosted merge and verify it; do not merge the same task again through Finish before cleanup.
On
main, the browser should still show 55°F and the tests should pass. The PR is marked Merged. These are the files you will include in the release.
Draft and publish a practice release
A GitHub release groups a Git tag, notes, and downloadable assets. This exercise publishes the sample’s source. It does not deploy the weather page to a website or build an application installer.
- Click DevOps in the menu bar, then New Release. The release form opens in a content tab.
- Enter a new Tag, such as
v0.1.0-tutorial, and set Target branch (for new tag) tomain. - Set Release title to
Weather tutorial 0.1.0. - In Release notes, describe the corrected temperature, include the actual PR and issue numbers, and state that the forecast is still unfinished.
- Select This is a pre-release and leave Set as the latest release off. Click Save as draft.
- Click DevOps in the menu bar, then Releases. Click your draft release in the list. Check its repository, tag, and notes. Click Edit if anything needs correction. When the draft is ready, click Publish.
- In the published release’s Assets section, click the download icon beside the source-code ZIP. Extract it in your file manager and open
src/weather.js. Confirm thattempNowreceivesreading.tempCdirectly. This checks that the release contains your fix.
Your release now points to the reviewed code, and its notes identify the issue and PR. Keep it as a practice example; there is no need to make it the repository’s latest release.
Recover and repeat
| What you see | What to check |
|---|---|
| Local tests cannot start | Run node --version, check the terminal folder, and confirm the kit’s files were extracted beside index.html. |
| No DevOps items | Click DevOps in the menu bar, then Configure. Check the source and account for the missing category. |
| No Actions run | Confirm Actions is enabled for the repository and that the committed workflow is in .github/workflows/. Check its branch filters. Organization policies can restrict which actions run. |
| Push rejects the workflow file | Read the authentication error. The GitHub credential must be allowed to update workflow files; reconnect with the needed access. |
| Green locally, red remotely | Compare commits, inspect the failed step, and verify that all reviewed files were committed and pushed. |
| Merge is unavailable | Read the PR’s reason. Resolve conflicts, wait for checks, or obtain the required review. |
| Issue stays open | Check the exact issue number, closing keyword, default branch, and repository auto-close setting. Verify the fix before closing it manually. |
| Release tag already exists | Choose a new practice tag. Do not move an existing published tag for this exercise. |
For another rehearsal, create a new sample folder and practice repository with a new name. This restores the deliberate bug without rewriting the completed repository’s history.